How to Configure Virtual Host on Windows 10 XAMPP
Create the Virtual Host
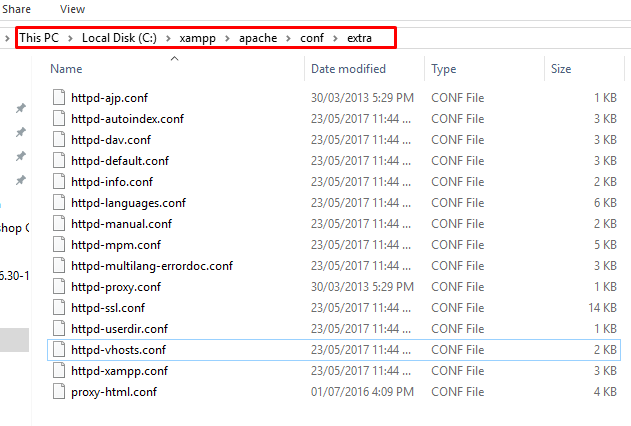
First, you need to navigate to C:/xampp/apache/conf/extra or wherever your XAMPP files are located.
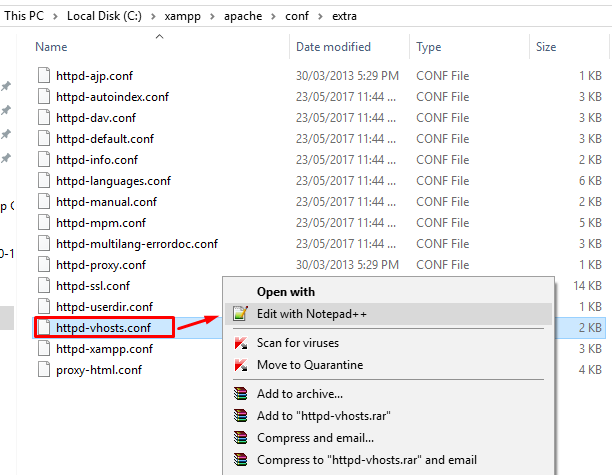
Then, edit httpd-vhosts.conf with any text editor. In my case, I am using Notepad++.
The file looks something like this:
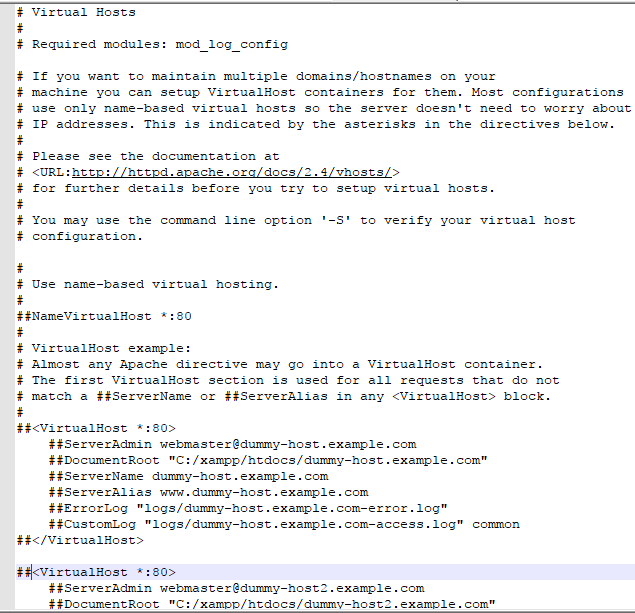
Delete everything in the file and paste the following code:
- <VirtualHost *:80>
- DocumentRoot “c:/xampp/htdocs/WordPress”
- ServerName WordPress.localhost
- <Directory “c:/xampp/htdocs/WordPress”>
- </Directory>
- </VirtualHost>
In the above code:
- VirtualHost: Most web servers use port 80 as their default port. However, you can change the port to 8080, 8081 etc.
- DocumentRoot: The folder where files of a site will exist. In our case, the folder name is “WordPress”.
- ServerName: It is the URL for our virtual host.
- Directory: It is the directory of our virtual host.
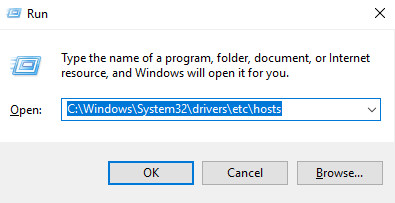
Now, go to Windows > Search > Run and paste the following line:
- C:\Windows\System32\drivers\etc\hosts
Next, open Host file in your text editor.
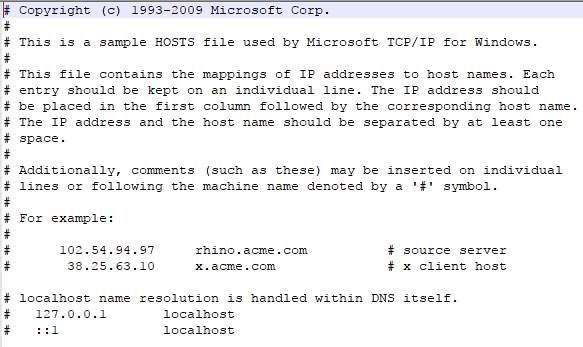
Add the following line in the Host file.
- 127.0.0.1 WordPress.localhost
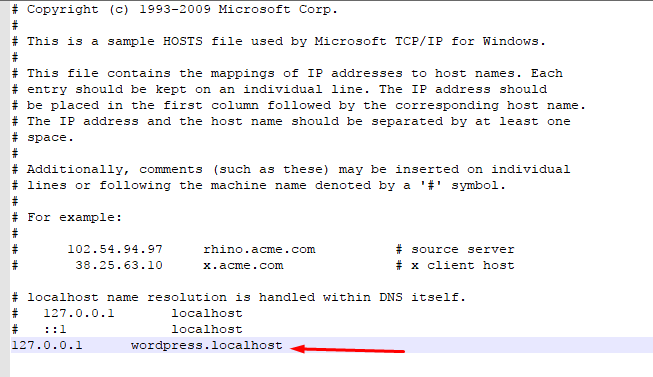
Once you are done, check whether wordpress.localhost opens up in your browser.
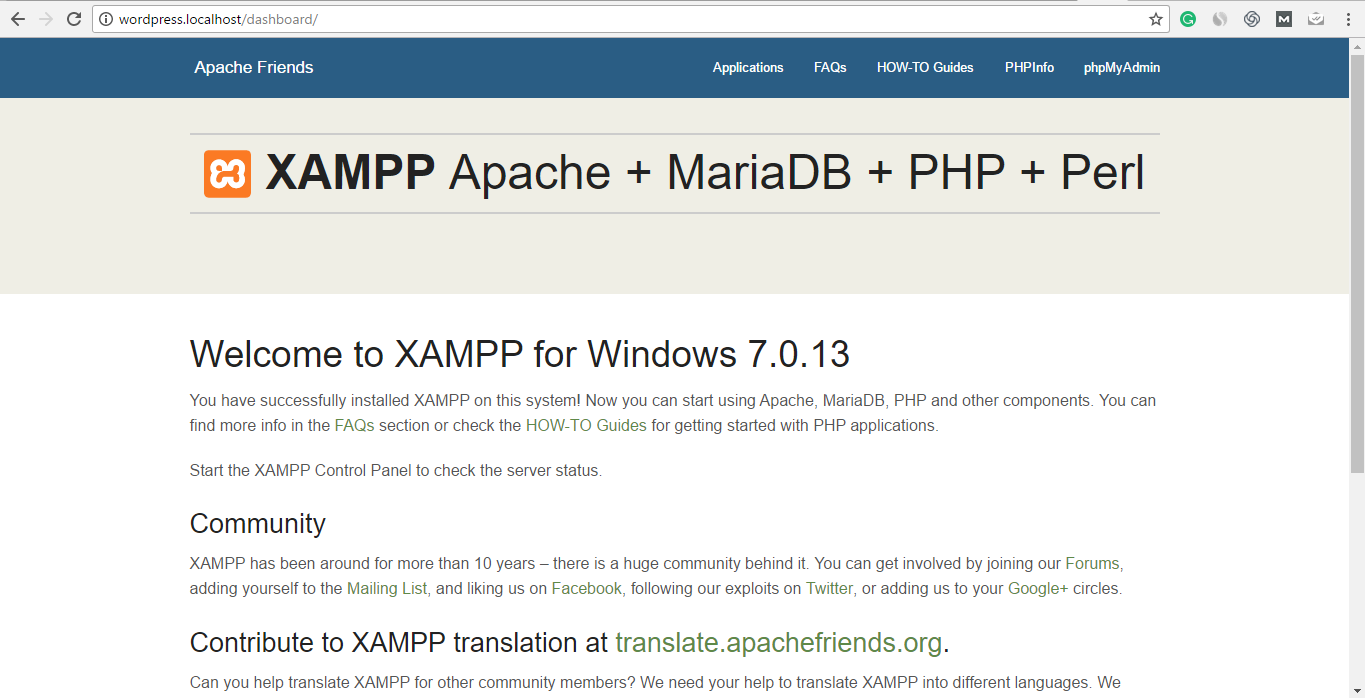
You can see that the domain has been added successfully. You are now free to run the application of your choice in the virtual host. In my case, I will opt for WordPress.
Set up WordPress on Virtual Host
At this point, I am assuming that you have already installed XAMPP server and have a WordPress website set up.
WordPress Database Changes
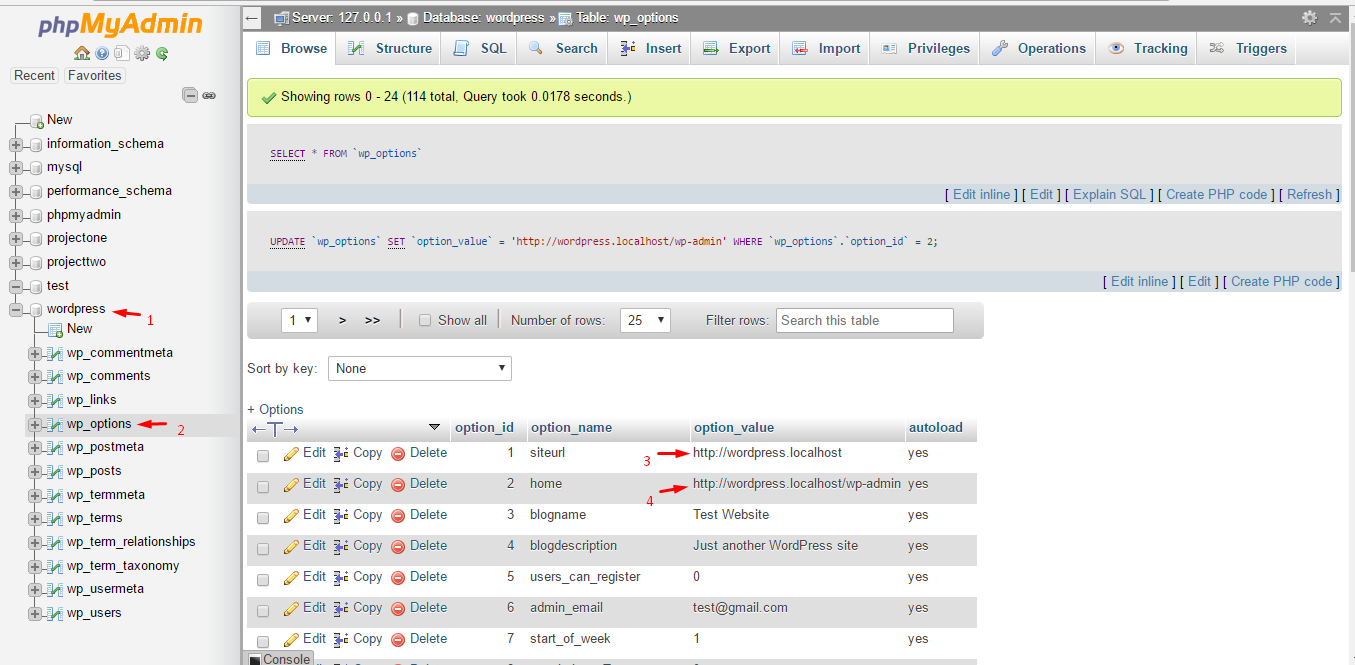
Now, it’s time to change the database URL (a very important step configure virtual host).
For this, go to http://localhost/phpmyadmin/ and select your database. In my case, it is “WordPress”.
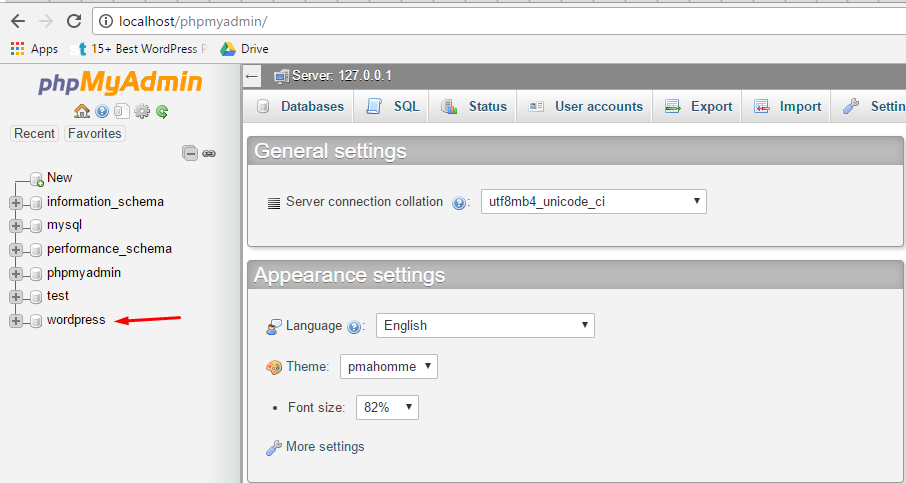
Then go to WordPress > wp_options and change the site URL from http://localhost/WordPress/ to http://WordPress.localhost, and home URL from http://localhost/WordPress/wp-admin to http://WordPress.localhost/wp-admin.
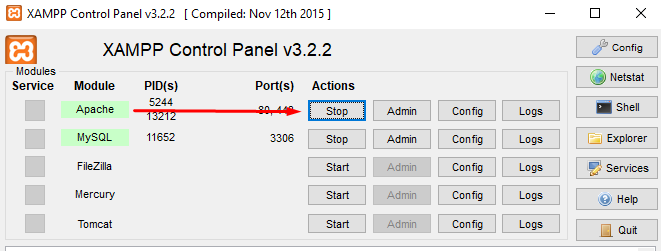
Restart Apache and visit your virtual host URL, in our case it’s “wordpress.localhost” and check whether the domain has been set up successfully.
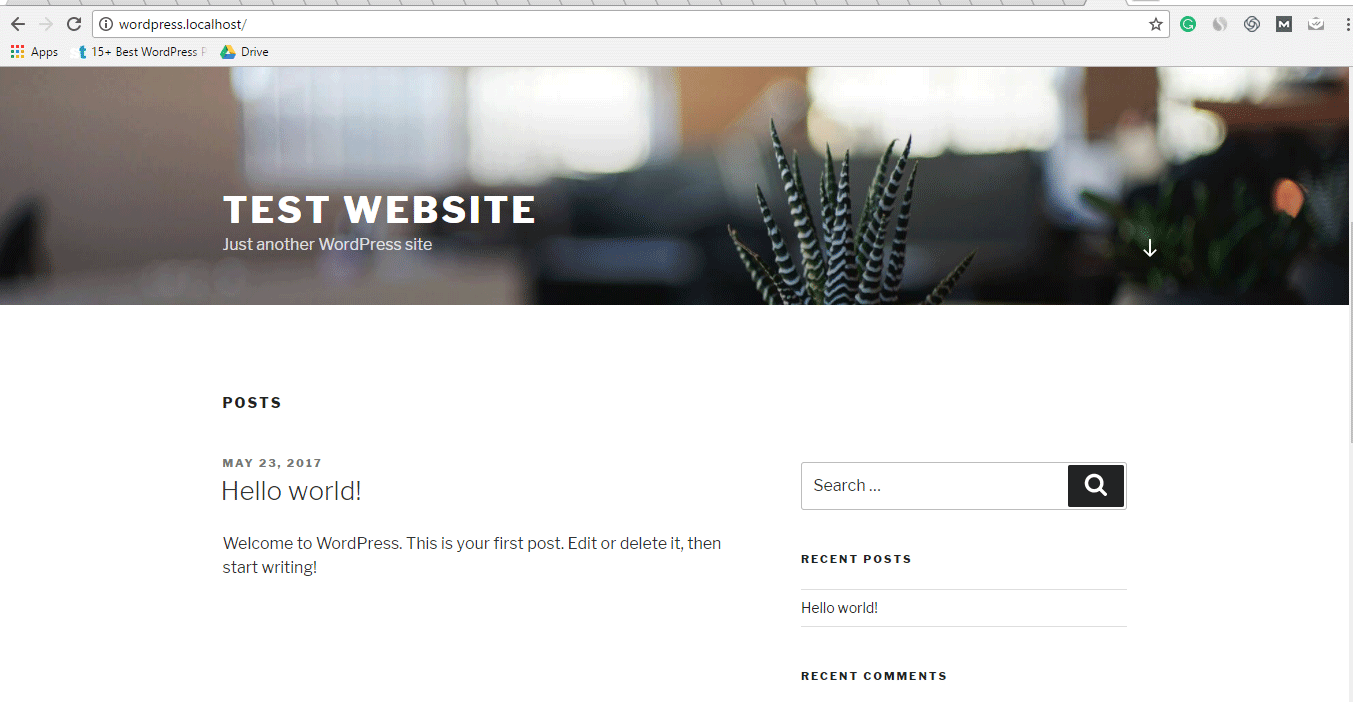
Since the setup of Virtual Hosts for WordPress Website with XAMPP is done, here is what the final results would look like:
Final Words
That’s it! I hope you have a clear idea of setting up Virtual Hosts for WordPress with XAMPP running on Windows 10. If you have any query or suggestions, feel free to ask me via the comment section below.